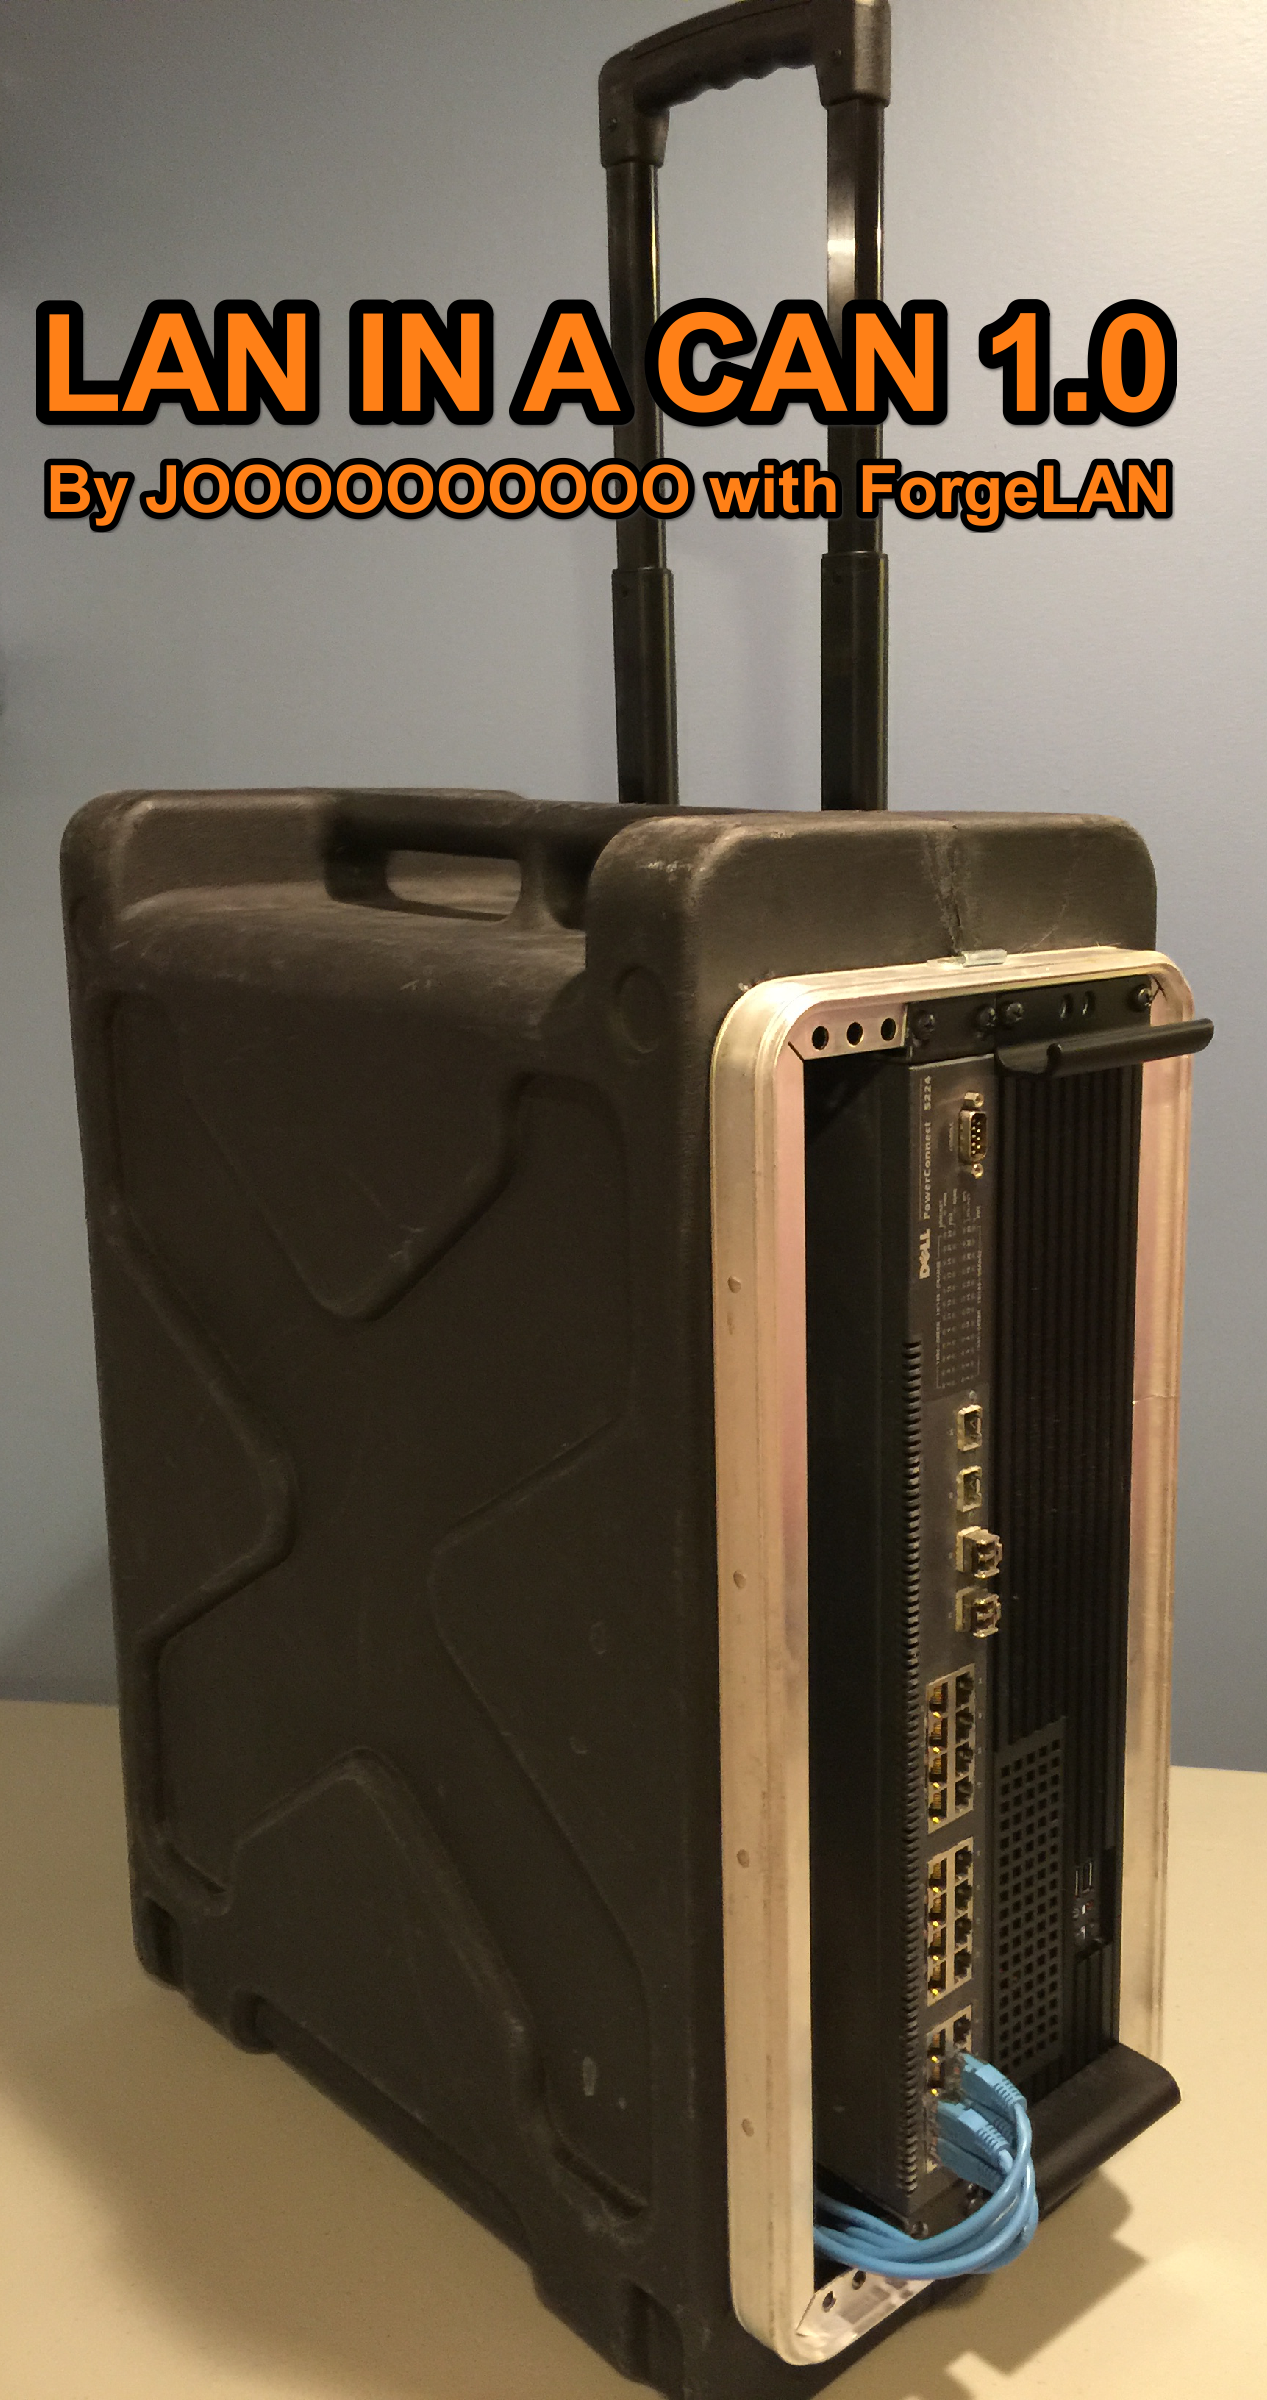
The goal of this blog post is to highlight one of my “off the clock” creations that has faithfully serviced 4 LAN parties and counting. I wanted to share the recipe I used; I call it LAN-in-a-CAN. The goal of this project was to simply provide a portable platform which could handle LAN parties of up to 50 guests in an easy to use and quick to set up configuration, complete with download caching for CDN networks, pre-validated QoS rules to ensure smooth gaming traffic and a virtual game server capable of hosting any game servers. Everyone in the Ohio and surrounding area, I invite you to come check our LAN out, you can find details at www.forgelan.com.
BIG PICTURE: Roll in, plug in internet, LAN Party GO! Less headache, more time having fun!

First of all, massive props to the following:
- All the guys at Multiplay.co.uk and their groundbreaking work on the LAN caching config
- All the guys investing time in pfSense development
- @Khrainos from DGSLAN for the pfSense help
- Sideout from NexusLAN for the Posts and Help
Pictures:


Physical Components:
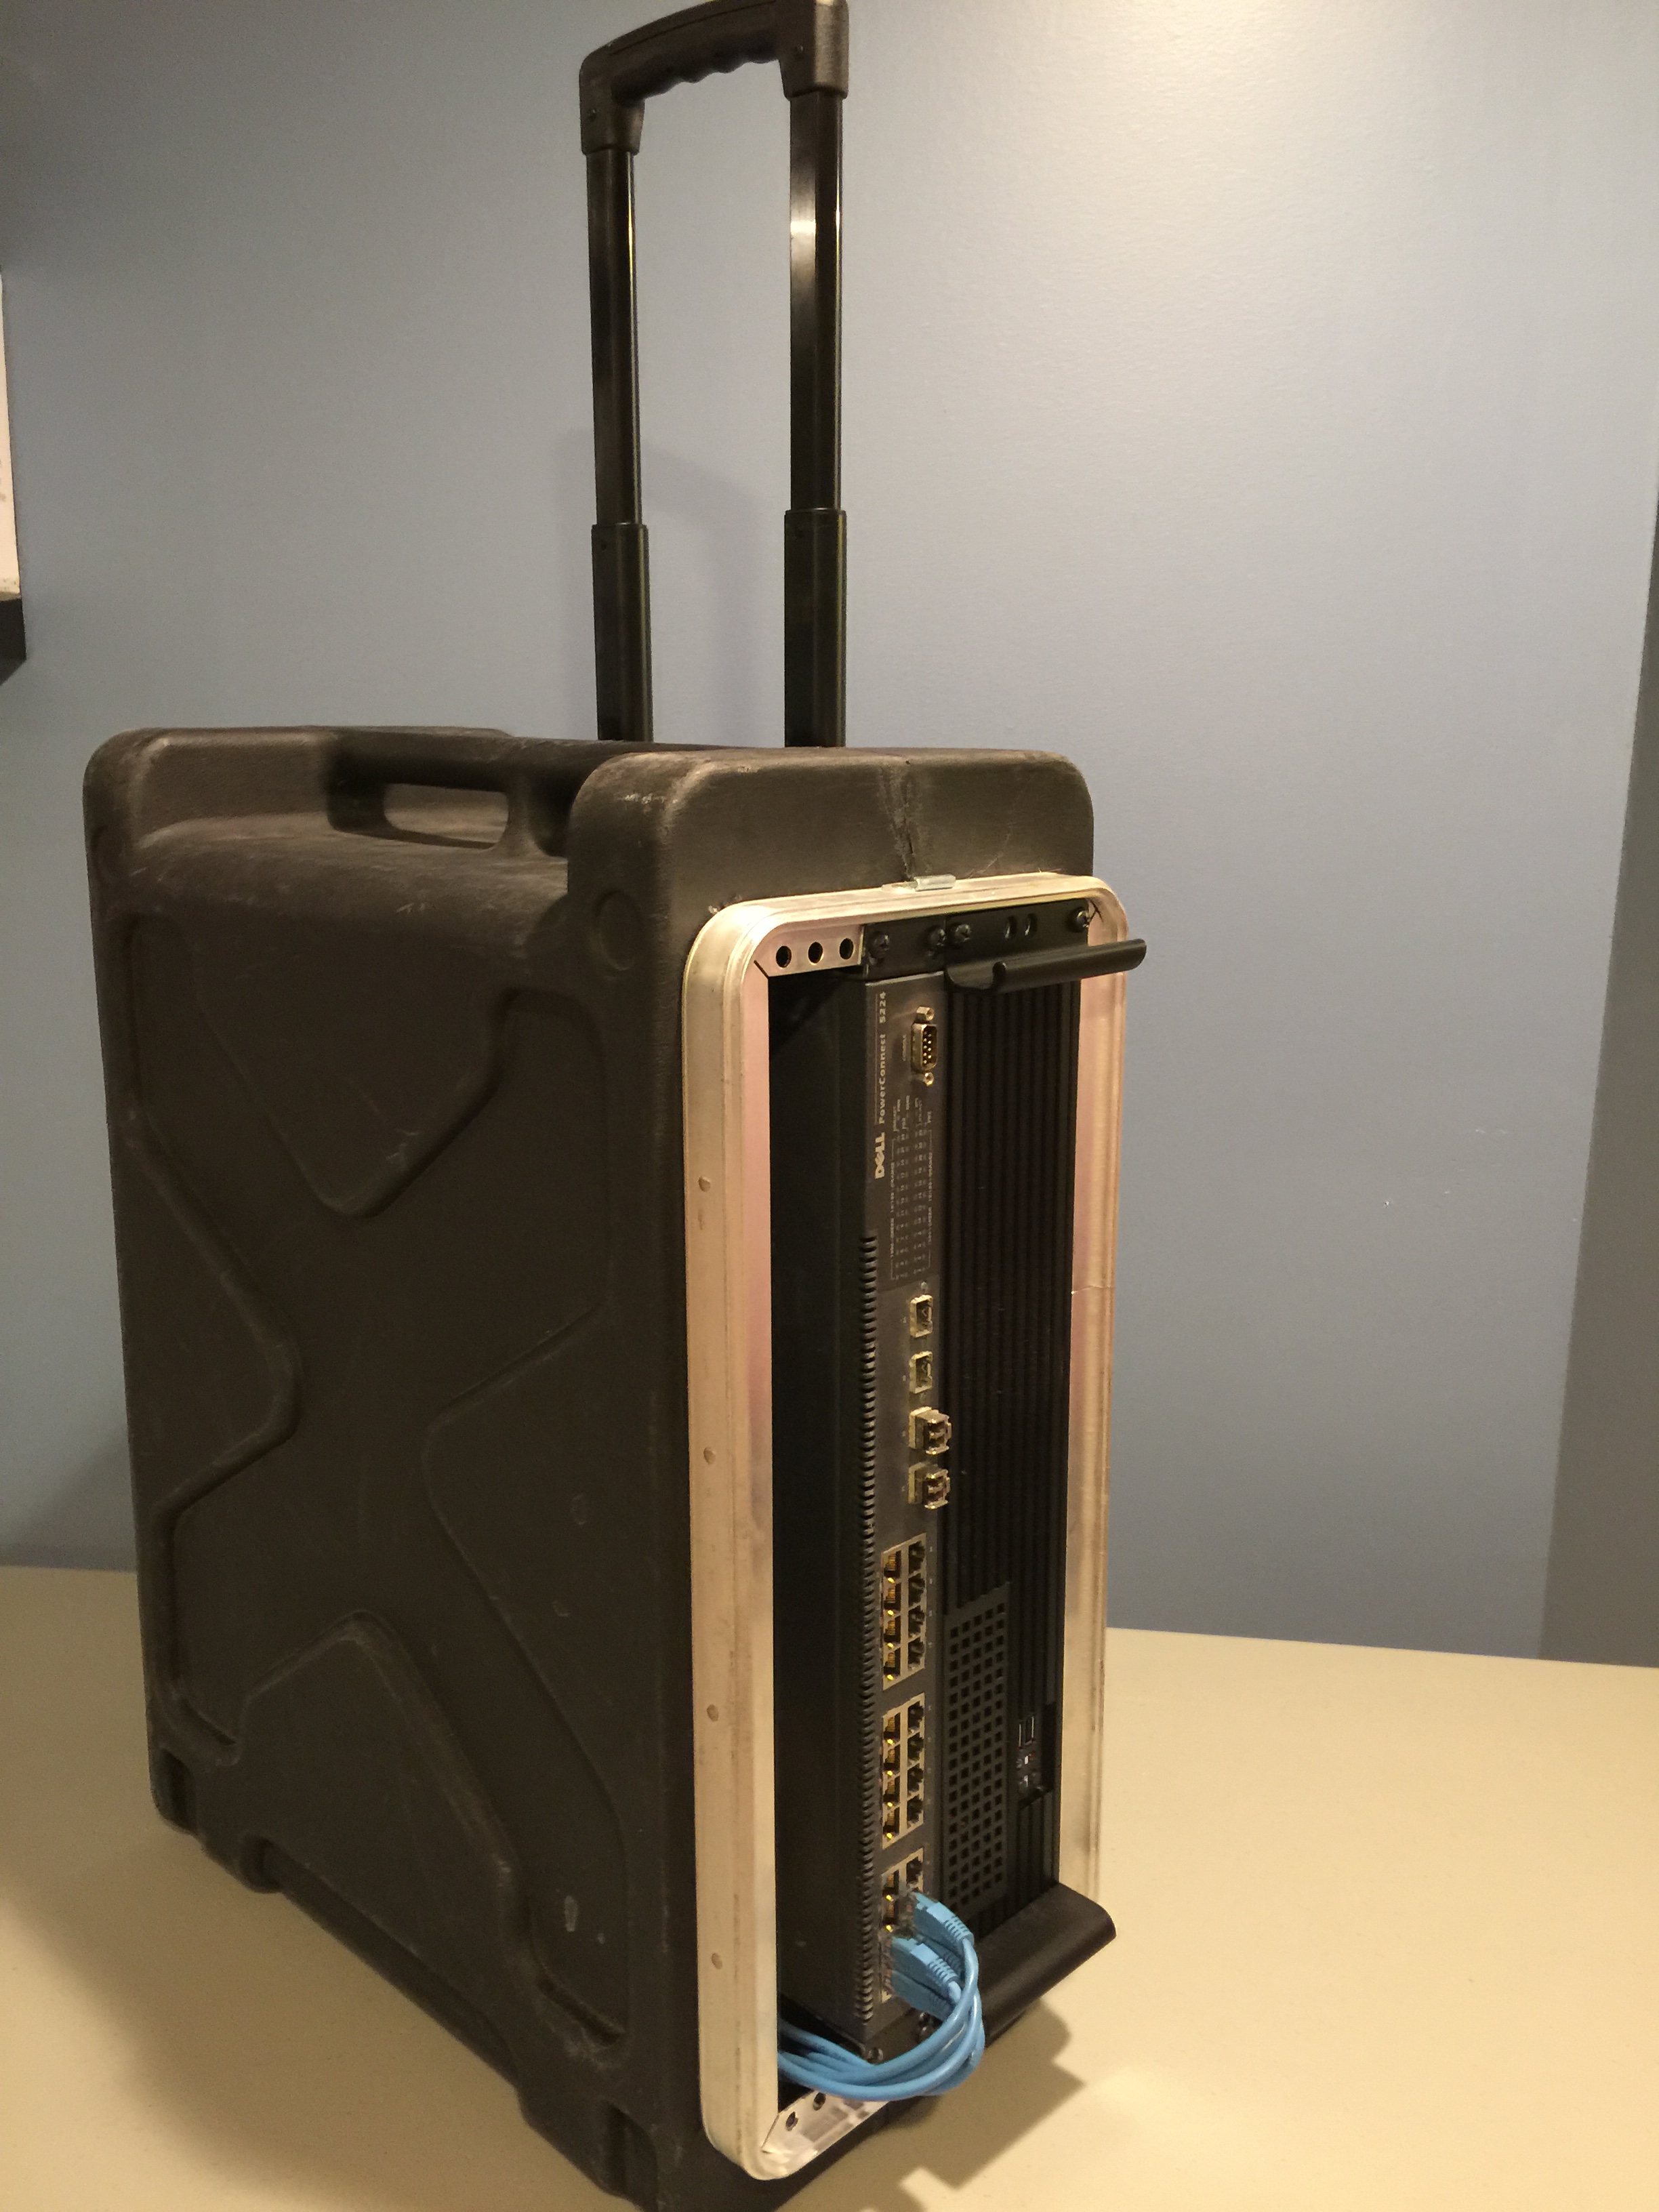
Case: SKB 4U Rolling Rack ~$100
Network Switch: (2x) Dell PowerConnect 5224 (x2) 24 port Gig Switch ~$70 each
Server Operating System: VMware ESXi 5.5 U2 Standalone – Free
Server Chassis: iStarUSA D-213-MATX Black Metal/ Aluminum 2U Rackmount microATX Server Chassis – OEM ~$70
Server Motherboard: ASUS P8Z77-M LGA 1155 Intel Z77 HDMI SATA 6Gb/s USB 3.0 Micro ATX Intel Motherboard ~$90 (DISCONTINUED)
Server Memory: G.SKILL Ripjaws Series 32GB (4x 8GB DIMMS) ~$240
Server CPU: Intel Core i3-3250 Ivy Bridge Dual-Core 3.5GHz LGA 1155 55W Desktop Processor ~$120
Server PCI-Express NICS: (3x) Rosewill RNG-407 – PCI-Express Dual Port Gigabit Ethernet Network Adapter – 2 x RJ45 ~$35 each
Server Magnetic Hard Drive: Seagate Barracuda STBD2000101 2TB 7200 RPM 64MB Cache SATA 6.0Gb/s 3.5″ Internal Hard Drive -Retail kit ~$90
Server SSD Hard Drive: (2x) SAMSUNG 850 Pro Series MZ-7KE256BW 2.5″ 256GB SATA III 3-D Vertical Internal Solid State Drive (SSD) ~$340
Wireless Access Point: $35
Total Cost: ~$1350 with Shipping
My comments on the configuration at present:
When you think about it….it’s not much more than a PC build. As cool as it looks, this is a garage sale lame-oh build. I was able to save some cash by repurposing older hardware I had laying around such as the CPU, memory, motherboard and hard drives. When examining the scalability of the solution, the first thing that would have to change is the CPU clock speed & core count, followed immediately by a decent RAID controller. If it was required to service LANs larger than 50-70 in attendance, we’d probably want to change the layout so that the caching server would have its own physical box.
Virtual Components:
pfSense Virtual Machine
Purpose: Serves DNS, DHCP, QoS, ISP connectivity and routing.
Operating System: FreeBSD 8.3
Virtual vCPU: 2
Virtual Memory: 2GB
Virtual NIC: 3 vNICS, 2 for WAN connectivity, 1 for LAN connectivity
Virtual Hard Drive: 60GB located on 2TB slow disk
Windows Game Server (Could Also be Ubuntu if Linux Savvy)
Purpose: Serves up all the local game servers, LAN web content, teamspeak, and is a TeamViewer point of management into the system remotely
Operating System: Windows Server
Virtual vCPU: 2
Virtual Memory: 4GB
Virtual NIC: 1 for LAN connectivity
Virtual Hard Drive: 400GB located on 2TB slow disk
Nginx Caching Server
Purpose: Caches data for Steam, Blizzard, RIOT and Origin CDN networks. I’ve only gotten Steam to actually cache properly. The others proxy successfully, but do not cache.
Operating System: Ubuntu Server 14.04, nginx 1.7.2
Virtual vCPU: 4
Virtual Memory: 12GB
Virtual NIC: 8 for LAN connectivity
Virtual Hard Drive: 1x 80GB on slow disk, 2x 250GB disks, one on each Samsung 850. ZFS stripe across both disks which holds the cache
Download Box
Purpose: Windows box to pre-cache updates before the LAN starts. Allows multiple people to log in teamviewer, then into steam and seed all relevant games into the cache.
Operating System: Windows Desktop OS
Virtual vCPU: 1
Virtual Memory: 1GB
Virtual NIC: 1 for LAN connectivity
Virtual Hard Drive: 400GB located on 2TB slow disk
Big Picture Network and Caching Advice:
- pfSense and Network
- Use Multi-WAN configuration (yes, that means two ISPs) so that all proxied download traffic via the caching box goes out one WAN unthrottled, and all other traffic goes out a different WAN throttled. 2 WANs for the WIN. If you only have one WAN ISP connection, then just limit the available bandwidth to the steam caching server.
- Use per IP limits to ensure that all endpoints are limited to 2Mbps or another reasonable number per your total available bandwidth. QoSing the individual gaming traffic into queues proved to be too nuanced for me, it was just plain easier and more consistent to grant individual bandwidth maximums. This doesn’t count the proxied and cached downloads, which should be handled separately per the above bullet point.
- Burst still isn’t working properly with the limiter config, apparently not an easy fix. Bug report here: https://redmine.pfsense.org/issues/3933
- DNS spoofing is required here which can be done out of the box using the DNS forwarder on pfSense
- We made the config work once on a 5/1 DSL link, but it was horrible. Once we at least had a 35/5 cable connection everything worked great.
- The PowerConnect 5224 just doesn’t have enough available ports to fully service all the connectivity required. While it does allow you to create up to 6 LAGs with up to 4 links each, it basically means that there aren’t enough ports to have a main table, plus 2 large tables with enough LAGs in-between them. I recently purchased a used Dell 2748 to replace the 5224 at the core in the rack for around $100, and am looking forward to updating it.
- Caching Box
- Future state for big lans, this would be a separate box like the guys at Multiplay.co.uk have laid out, 8x 1TB SSD in a ZFS RAID, 192GB memory with 10Gb networking, and dual 12 core procs. i3 procs with Samsung Pros seems to be working OK for us, but that’s because of the small scale. Would definitely need a couple hoss boxes at scale.
- When using multiple disks and ESXi, don’t simply create a VMFS datastore with extents, as the data will mostly be written to one of them and IO will not be staggered evenly. For this reason I opted to present two virtual hard drives to the virtual machine and let ZFS stripe it at the OS.
- Created a NIC and IP for each service that I was caching for simplicity sake.
- There are some Nginx improvements coming that will natively allow caching for Blizzard, Origin, which don’t work today due to the random range requests, which can’t be partially cached. See Steven’s forum post here for updates: http://forum.nginx.org/read.php?29,255315,255324
- CLI tips:
- Utilize nload to display NIC in/out traffic
- sudo apt-get install nload
-
- Log directories to tail for hit/miss logs
- cd /data/www/logs
- tail -f /location_of_log/name_of_log.log
- Storage Disk Sizes & Capacity with Human Readable Values
Achievable Performance:
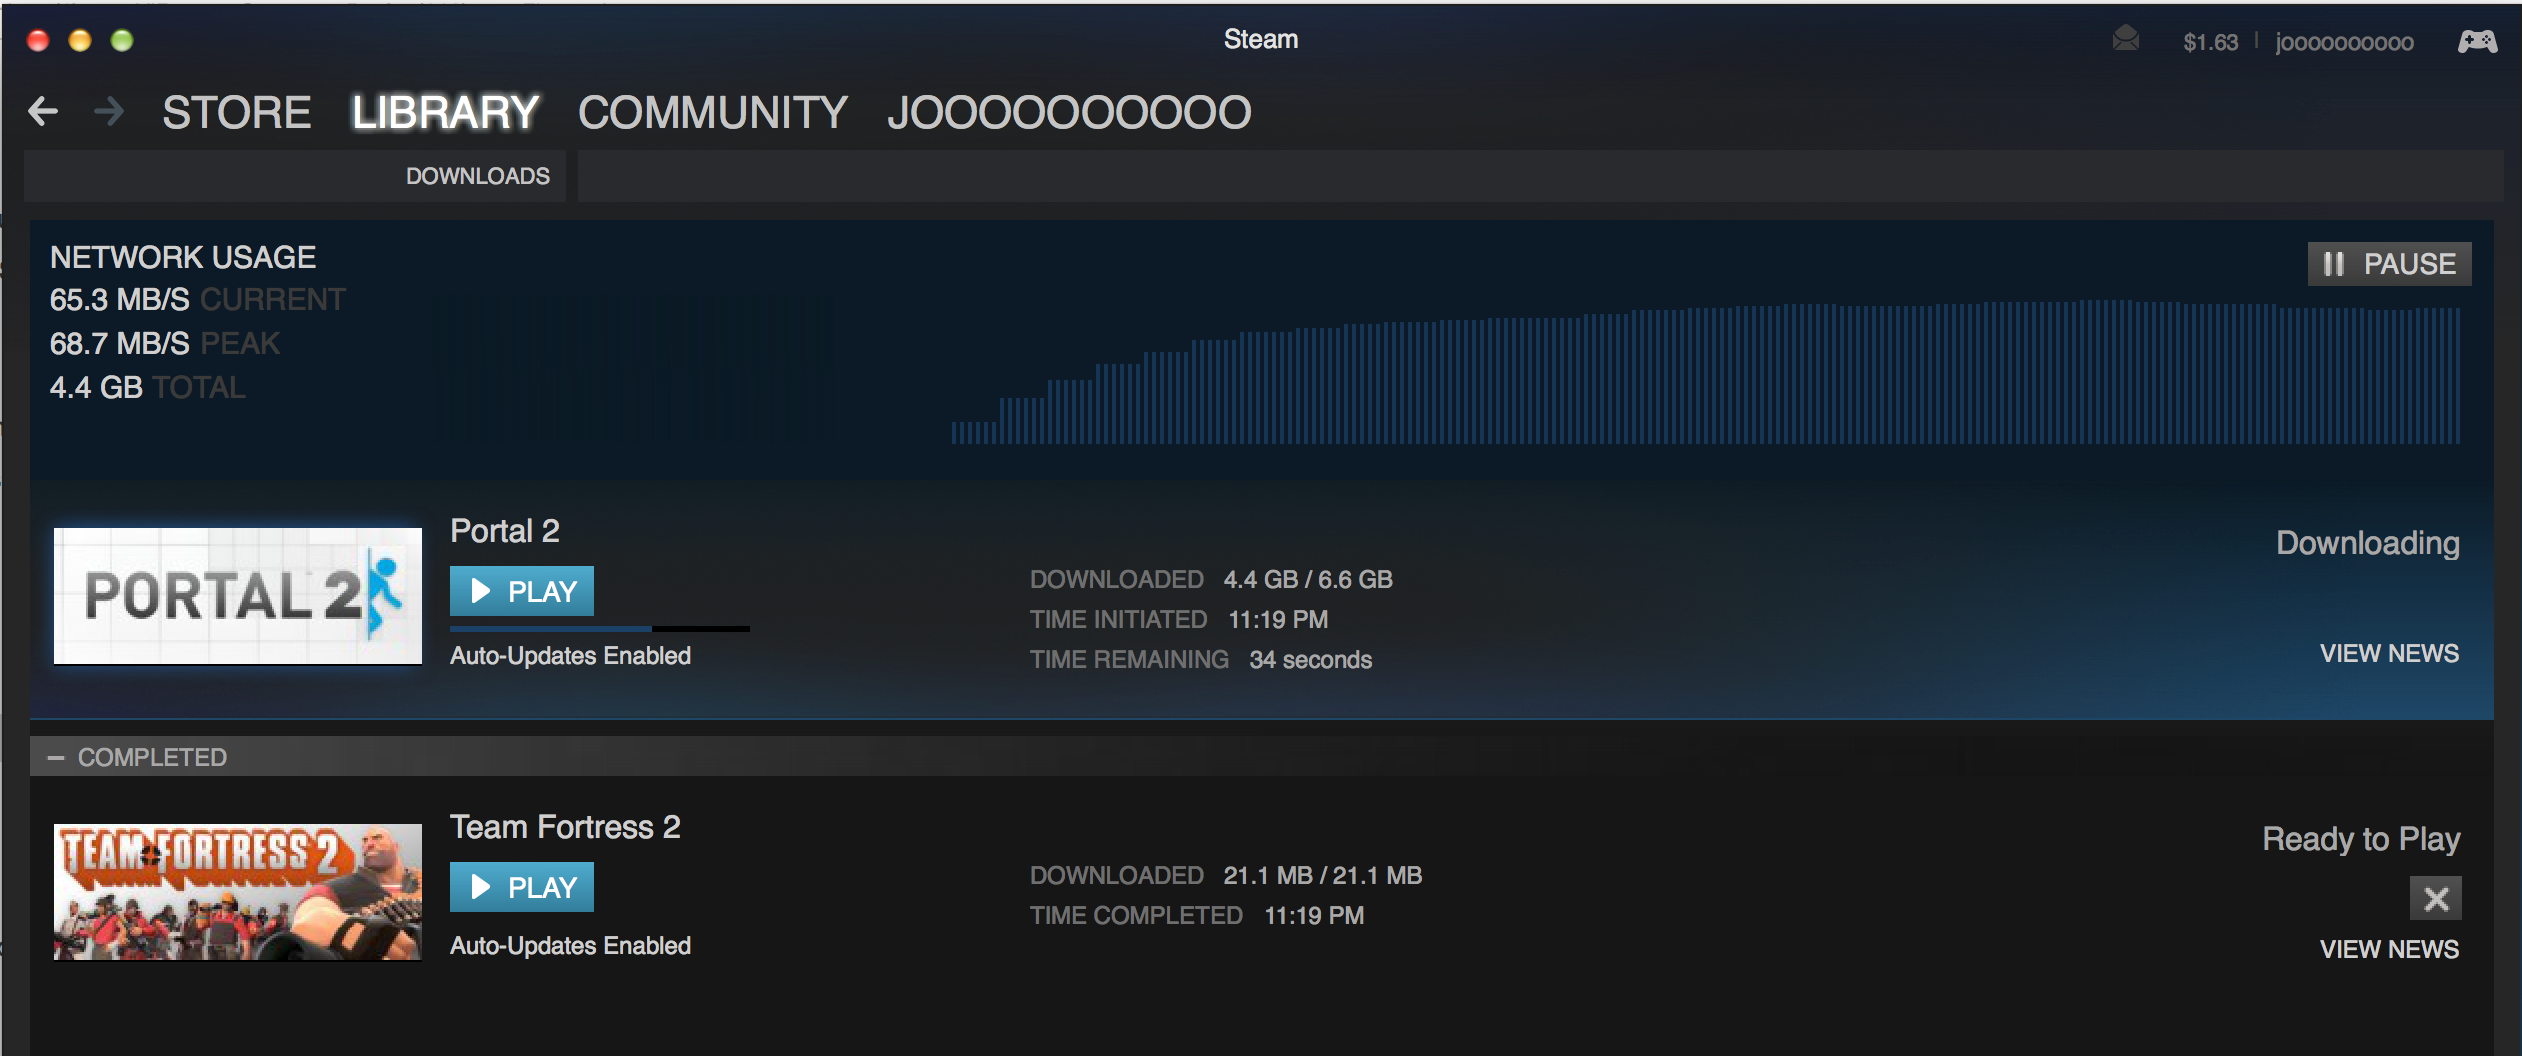
Single Portal 2 Download to a Mac with SSD drive: 68MBps! Whaaaaat??? Ahamazing.

Was able to push 94MBps of storage throughput at a small miniLAN with 8 people downloading portal 2 at the same time. Those 8 people downloaded portal 2 in about 10 minutes total.

It’s been a great project, and I’m excited for the future, especially with the up coming nginx modules that will hopefully provide partial cache capability.


